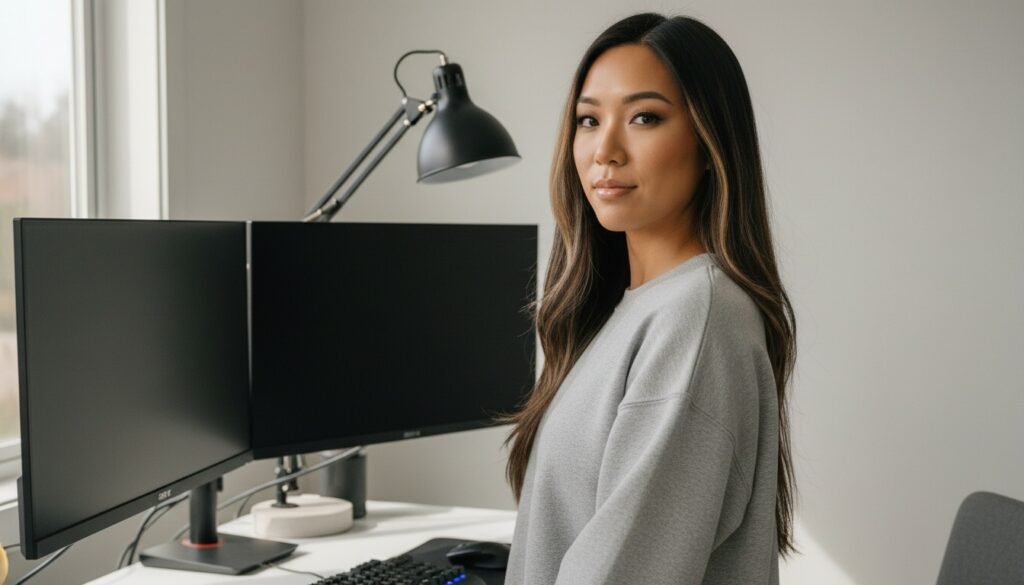
Your webcam does not need a brighter bulb; it needs a wider surface area positioned forty-five degrees off your visual axis. When people complain about dark, noisy video calls or burning eyes after an hour at their desk, the culprit is almost always point-source glare. A bare LED panel pointed straight at your face forces your camera to drop its exposure while forcing your pupils to constrict against a harsh pinpoint of light. Fixing this requires basic geometry and surface management, not expensive studio hardware.
The Core Rule: Surface Area Over Raw Lumens
A light source appears harsh when its physical footprint is small relative to the subject. A five-watt LED diode the size of a coin produces sharp shadows on your cheekbones and forces you to squint. That same five-watt output spread across a sixteen-inch soft panel or bounced off a white wall produces soft, even exposure across your face with zero glare in your eyes.
Before you adjust brightness dials, increase the size of your light source. If you currently use a small desk lamp or an unshielded ring light mounted directly above your monitor, point it away from you. Aim the fixture at a flat matte wall behind your screen or slightly to the side. The wall turns into a four-foot diffuse reflector. Your webcam sensor picks up clean, even skin tones because the light wraps around features rather than bouncing off forehead oil.
The Two-Point Angle Rule
Direct frontal lighting flattens facial depth and catches in your retinas every time you glance at your primary monitor. Overhead room fixtures cast dark shadows beneath your brows and nose. The reliable setup uses two light sources placed off-center.
Key Light Placement
Your primary source sits roughly forty-five degrees to the left or right of your camera. Elevate the fixture so it rests about ten to fifteen inches above eye level, angled downward at roughly thirty degrees. This mimics natural ambient daylight, keeps the brightest reflection out of your direct line of sight, and prevents the fixture from reflecting in glasses lenses.
Fill Light or Natural Bounce
The opposite side of your face needs half the illumination of the key side to avoid harsh cinematic contrast. You do not need a second powered lamp for this. A light-colored wall, an open door, or a piece of white foam board placed on the edge of your desk acts as a passive fill board. It catches spill from your key light and reflects just enough soft photons back into the shadow side of your face.
| Element | Target Position | Target Color Temp | Relative Output |
|---|---|---|---|
| Key Light | 45° off-axis, 12 inches above eye line | 4000K – 5000K | 100% (Baseline) |
| Fill Source | 45° opposite side or white wall bounce | Matched to Key | 30% – 50% |
| Background Accent | Behind monitors or aimed at back wall | 2700K – 3200K | 20% – 40% |
Managing Screen Glare and Color Temperature
Most modern monitors output between 6000K and 6500K color temperature at factory defaults. Standard warm household lightbulbs sit near 2700K. When your face is lit by warm amber light while your eyes take in blue monitor glow, your webcam processor struggles with auto white balance, alternating between sickly orange and muddy blue.
Set your desk lamps between 4000K and 5000K. This range balances crisp neutral white with comfortable visual clarity. If your lights lack variable temperature controls, balance your setup by lowering your monitor brightness to match ambient room levels rather than cranking lamps up to fight screen output.
Eliminating Desktop and Background Reflections
Camera exposure meters read the entire frame, not just your face. If your desk has a glossy white laminate surface, polished hardwood, or exposed glass, downward lighting hits that surface and bounces directly upward into the lens. This flares out your chin, ruins camera contrast, and creates a secondary glare source right in your lower peripheral vision.
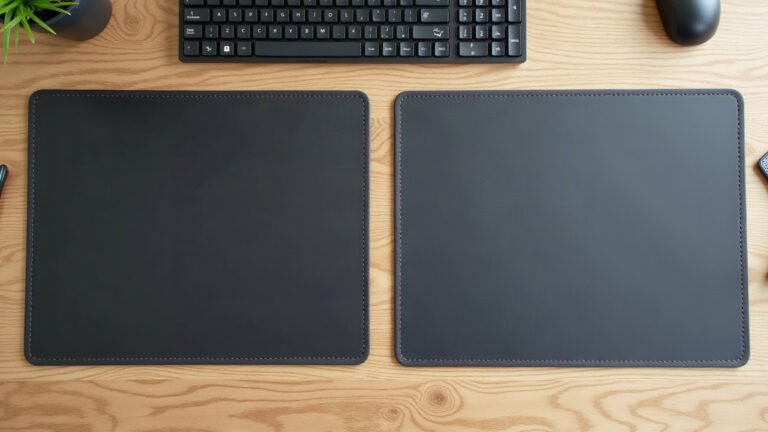
A dark, non-reflective surface base stops this upward bounce. A wide fabric surface like one of our desk mats absorbs downward scatter with a low-sheen micro-weave cloth top and an anti-slip natural rubber base. Covering sixty to ninety centimeters of bare desk directly under your chest stabilizes the camera exposure algorithm by removing erratic hot spots.
The same logic applies to your background. A bare white wall behind your chair creates heavy backlight, making your webcam silhouette your face in darkness. Placing a framed canvas print or textured piece of wall art behind your workspace breaks up the flat reflective background and gives the camera sensor a defined depth plane to meter against.
A 4-Step Checklist for Today
You can dial this in within fifteen minutes without spending money:
- Turn off your overhead ceiling light: Overhead fixtures cast harsh downward shadows on eye sockets and create hot spots on your hair.
- Move your key light off-center: Shift your desk lamp forty-five degrees to one side and lift it slightly above your monitor bezel.
- Diffuse the bulb: Angle the head into a nearby wall, or place a simple sheet of baking parchment six inches in front of the fixture to spread the beam.
- Cover reflective desk surfaces: Lay down a matte cloth mat beneath your keyboard to kill upward light bounce into the webcam lens.
Check your camera preview. Your eyes will stay relaxed through long sessions, and your video feed will look sharp and balanced without a single piece of studio gear.
Lana is MousePady’s brand character — an AI-generated persona created and written by us, not a real person and not a real reviewer. Specifications come from manufacturer data.

Leave a Reply