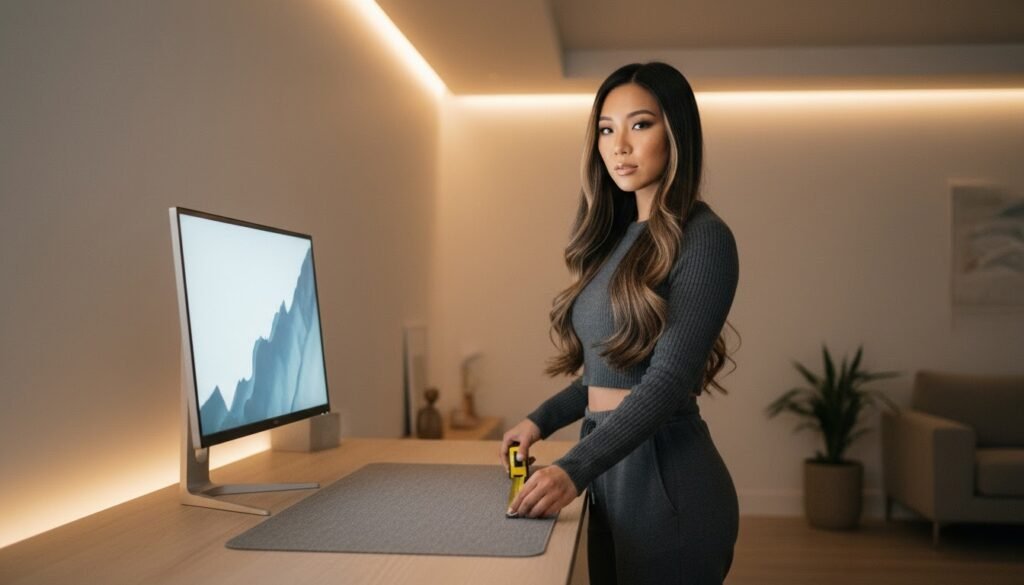
An expensive desk is mostly an optical trick built on three rules: hide every wire, cover low-grade laminate with a single matte texture, and keep only items with intentional footprints on the surface.
Cheap desks look cheap because of how light hits them. A standard hollow-core particleboard top has three immediate giveaways: a glossy faux-wood grain that reflects overhead light unevenly, visible seam tape along the front edge, and a light overall mass that makes stock plastic monitor stands look oversized. You do not need solid walnut to fix this. You just need to control what the eye actually sees.
The first week you sort the visual hierarchy, you will catch yourself glancing at your setup from across the room simply because the visual clutter is gone.
Strip the Surface Down to Zero
Before you add anything, clear the entire tabletop. Unplug every peripheral, remove the monitor, and wipe the surface clean.
Cheap desks look worse when crowded. When you place six small, unrelated plastic items on a faux-oak surface — chargers, loose pens, mugs, sticky notes — the desk looks like storage rather than a workstation.
Group your essential gear into three zones:
- Primary action zone: keyboard, mouse, and your primary input space.
- Visual anchor zone: display, centered or deliberately offset on an arm.
- Utility corner: one dedicated spot for a single drink or notebook, never scattered.
Anything that does not fall into these three categories belongs in a drawer or off the table entirely.
Eliminate Every Wire Under the Desk Line
Visible black cables hanging against a light wall instantly signal an unfinished build. High-end setups look cohesive because cables follow structural furniture lines rather than gravity.
You do not need expensive raceways. A standard pack of hook-and-loop cable ties and three adhesive cable clips will do most of the work.
Run every monitor cable down the back of the monitor stand or arm. Route keyboard and mouse cables in straight lines toward the rear edge. Bundle cables together behind a desk leg using ties spaced every 150 mm. If your power strip sits on the floor, lift it. Mount it to the underside of the desk using heavy-duty double-sided mounting tape or short wood screws. When you stand up and look at the desk from three paces back, zero wires should cross open air.
Cover the Particleboard with a Single Large Texture
The fastest way to hide cheap laminate is to cover 70 percent of it with a high-density, matte material.
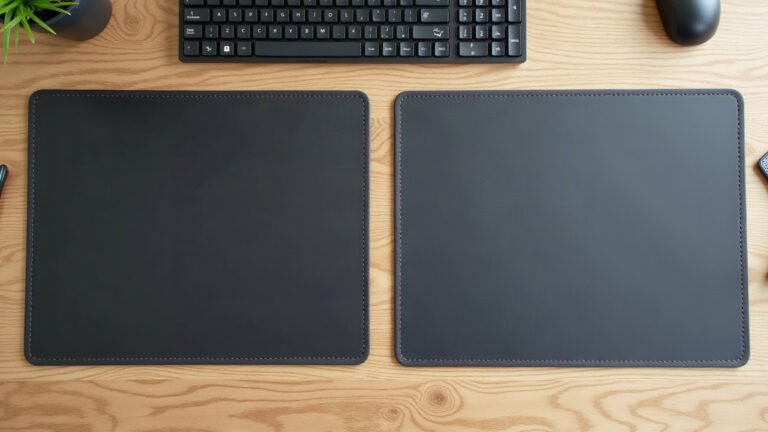
Small mouse pads make a desk look fragmented. A standard 250 x 200 mm pad leaves large patches of cheap melamine exposed on either side, creating high-contrast visual breaks that draw attention to the desk material itself.
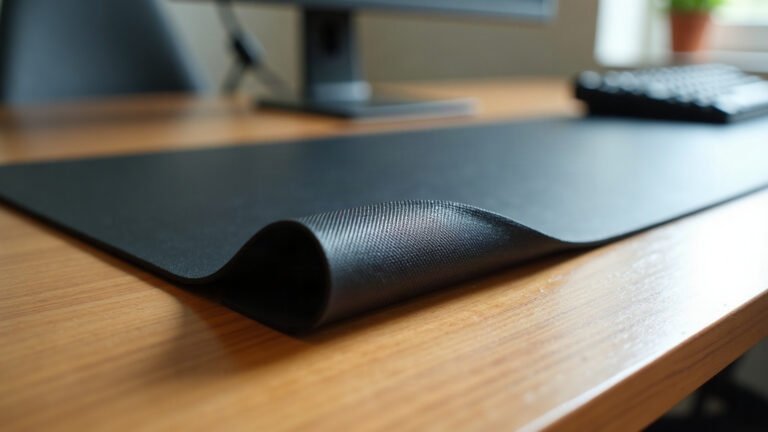
A large format desk mat changes the entire visual baseline. Our mats use a 3 mm natural rubber base paired with a tightly woven micro-texture polyester surface. The anti-slip rubber base keeps the mat firmly in position without shifting, while the 3 mm thickness provides a solid, uniform plane that hides subtle desk surface unevenness and edge wear.
Choose a size that spans the width of your keyboard and leaves at least 100 mm of space on either side. A 900 x 400 mm mat, for example, frames your hardware as a unified station rather than loose gear scattered on chipboard.
Replace Stock Plastic Stands with a Monitor Arm
Factory monitor stands that come with budget screens are wide, hollow plastic triangles. They eat up 250 to 300 mm of desk depth and broadcast the price of the screen.
A basic C-clamp monitor arm clamps to the back edge of the desk and lifts the display into the air. This single change does two things:
- It frees up the desk surface directly underneath the screen, making a 600 mm deep desk feel like an 800 mm deep desk.
- It introduces clean vertical lines of powder-coated steel instead of bulky molded plastic bases.
Check the underside of your desk first. Hollow-core tops with paper honeycomb cores can crush under high clamp pressure. If your desk top is hollow, place a 100 x 100 mm scrap piece of solid wood or metal reinforcement plate between the desk and the clamp to spread the load across a wider surface area.
Fix the Lighting to Kill Surface Glare
Cheap desk surfaces are notorious for harsh reflections. Overhead ceiling bulbs hit laminate surfaces at steep angles, highlighting scratches, dust, fingerprints, and printed grain textures.
Shift your lighting from overhead to indirect:
- Place a warm task light or monitor light bar above the screen. A light bar directs light downward in a narrow band directly onto your workspace, bypassing the monitor panel and keeping the rest of the room in softer shadow.
- Add a simple light strip behind the desk edge. Bouncing light off the wall behind your monitor creates a soft background glow that reduces high-contrast shadows.
When the light source is diffuse and controlled, the eye registers clean shapes instead of surface imperfections.
Setup Upgrade Decisions: What to Fix First
| Feature | The Budget Giveaway | The Inexpensive Fix | Target Spec |
|---|---|---|---|
| Surface | Reflective laminate with visible seam lines | Large format desk mat | 900×400 mm, 3 mm natural rubber base |
| Screen Mount | Bulky plastic factory tripod base | Single desk-clamp monitor arm | Steel clamp with load spreader plate |
| Wiring | Hanging black cords against the wall | Leg-routed bundles with ties | Hook-and-loop ties every 150 mm |
| Lighting | Harsh ceiling light causing glare | Monitor light bar or back strip | Diffused 3000K-4000K warm LED |
| Wall Space | Blank drywall or bare wires | Framed visual print | Framed print centered at eye level |
Getting the Proportions Right
A common mistake is choosing accessories that are too small for the furniture. If your desk is 1200 mm wide, a tiny 300 mm mouse pad will look out of proportion, making the entire workstation appear makeshift.
Measure your tabletop with a standard tape measure before buying accessories. Aim for roughly 100 mm of exposed desk border around your main mat. That border creates intentional framing. If your desk sits against an empty wall, adding framed wall art centered directly above your monitor anchors the vertical space and draws the eye upward away from the desk legs.
Sizing, Production, and Our Guarantee
When you order a desk mat from MousePady, we produce it specifically for your order. Production takes 2 to 5 business days, extending up to 10 business days during peak seasonal volumes. Shipping is free everywhere in the United States on every order. For international orders, flat-rate shipping starts at $7.95, and orders over $99 ship free worldwide.
Because each piece is custom printed, we do not accept change-of-mind returns. However, our print guarantee covers your order completely: if your mat arrives damaged, misprinted, faulty, or is lost in transit, we will issue a free replacement or a full refund within 30 days of delivery upon receiving a clear photo of the issue.
Pull your tape measure out right now. Measure the width and depth of your desk surface, write down the dimensions, and calculate your target 100 mm margin. Once you know your numbers, you can choose the exact mat size that fits your layout.
Lana is MousePady’s brand character — an AI-generated persona created and written by us, not a real person and not a real reviewer. Specifications come from manufacturer data.

Leave a Reply